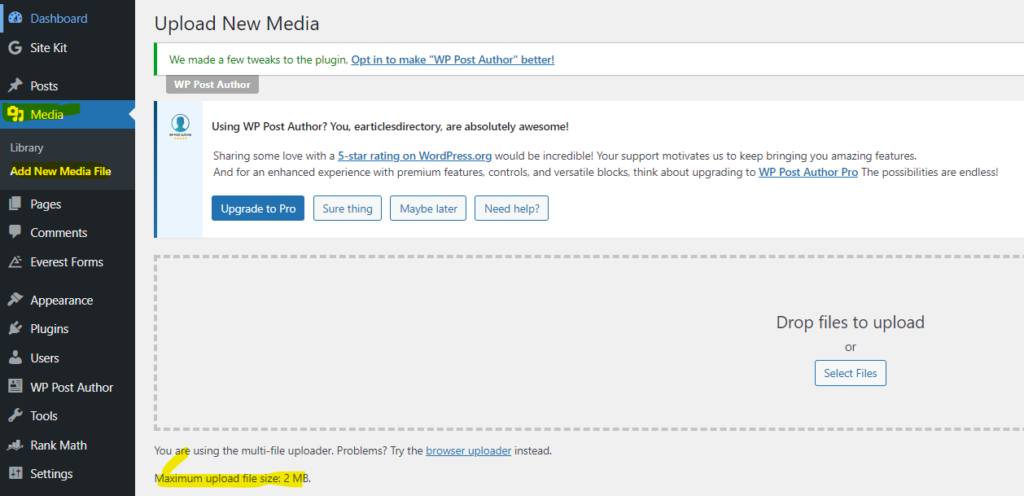
To increase the file upload size limit in WordPress, you’ll need to perform few settings, both in the WordPress configuration and potentially in your server configuration. There are multiple ways to do this. You can try any of the below given steps
Here’s a step-by-step guide:
1. Update php.ini:
- Locate your
php.inifile. You can find this file in you server or cPanel if you are using shared hosting. The location can vary depending on your server setup. For WordPress users you can use Wp file manager plugin to access php.ini from wordpress admin pannel. you need not to go to server or cpannel. Common locations include/etc/php/7.x/apache2/php.inior/etc/php/7.x/cli/php.ini. - Edit the
php.inifile and find the following settings:
upload_max_filesize = 2M
post_max_size = 8M
Increase the values according to your needs. For example:
upload_max_filesize = 20M
post_max_size = 25M
- Save the changes and restart your web server for the changes to take effect. If you are a wordpress users, you don’t have to perform any restart operations. Just save the file, it will work. The command to restart Apache may look like:
sudo service apache2 restart
2. Update .htaccess:
If you don’t have access to the php.ini file or if the changes are not taking effect, you can also try adding or modifying the following lines in your WordPress .htaccess file:
php_value upload_max_filesize 20M
php_value post_max_size 25M
php_value max_execution_time 300
php_value max_input_time 300
Again, adjust the values according to your requirements.
3. WordPress functions.php:
You can also try adding the following code to your theme’s functions.php file:
@ini_set( 'upload_max_size' , '20M' );
@ini_set( 'post_max_size', '25M');
@ini_set( 'max_execution_time', '300' );
Here you can check allowed file upload size
